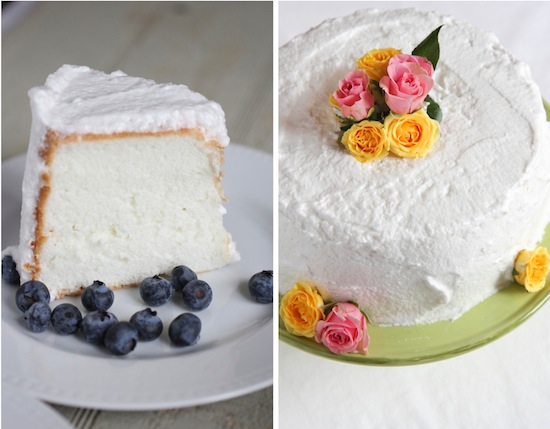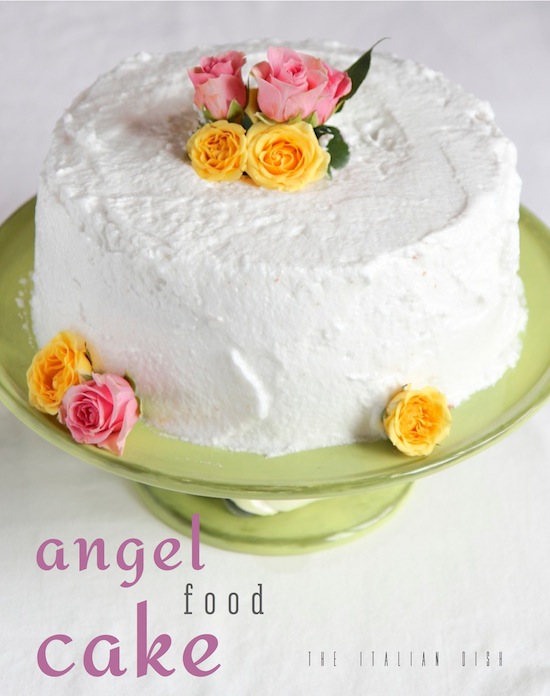
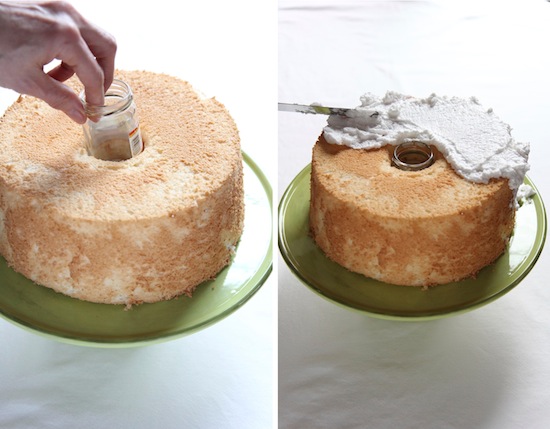
Doesn't this cake look like Spring and/or Easter? I even thought some Peeps on the top and sides might be cute. I put a little tiny jar in the middle of the cake where the hole is, filled it with water and put in some little rosebuds. I wish I had some spring flowers to put in the cake but it's just too early here in Michigan.

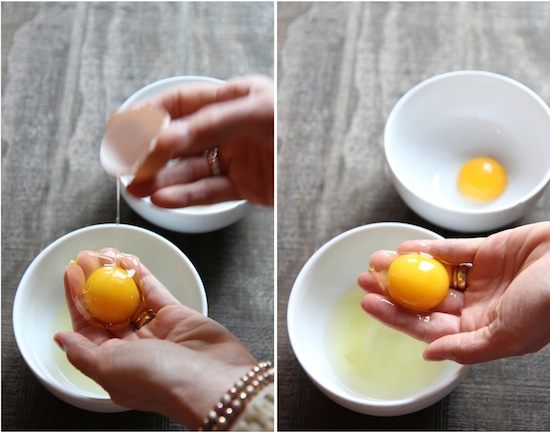
Making an angel food cake requires that you separate a lot of egg whites from the yolks. The common way to do this is to pour the egg back and forth between the two broken shells. I prefer a method that I learned from Jacques Pepin that has you placing the egg in your open hand and letting the whites fall from the yolk. It's easier and has less risk of the yolk breaking.
What to do with all the yolks you will have leftover? Here are some ideas of recipes that require just yolks or mostly yolks:
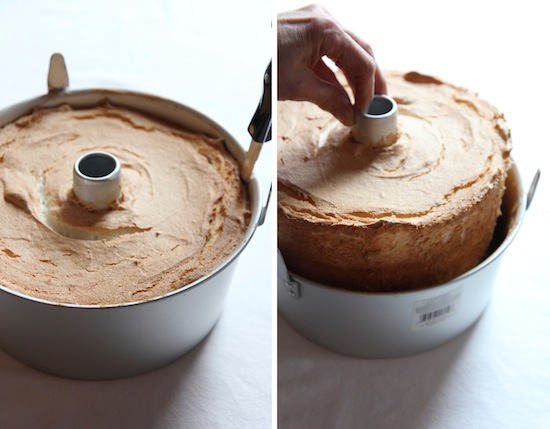
When it comes to making angel food cakes, there are bakers who will caution you against buying a nonstick angel food cake pan. They say that the cake will not rise adequately in such a pan, but this is not true. I even baked two angel food cakes in two very different pans to prove the point. One cake was baked in a traditional, nonstick aluminum pan and one was baked in a nonstick angel food cake pan. Both cakes rose perfectly. And frankly, both cakes released well after I ran a knife around the cake. It is important, however, that you do not grease the pan - the cake must stick just a little in order to rise and it does that just perfectly even in the nonstick pan.
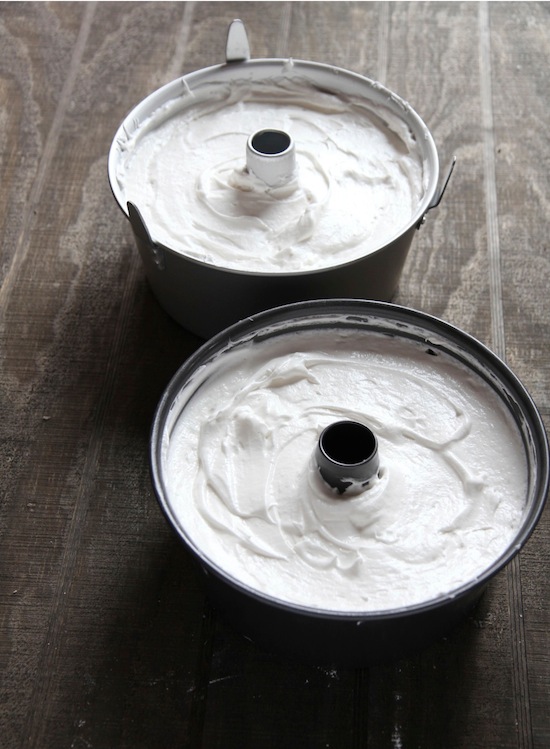
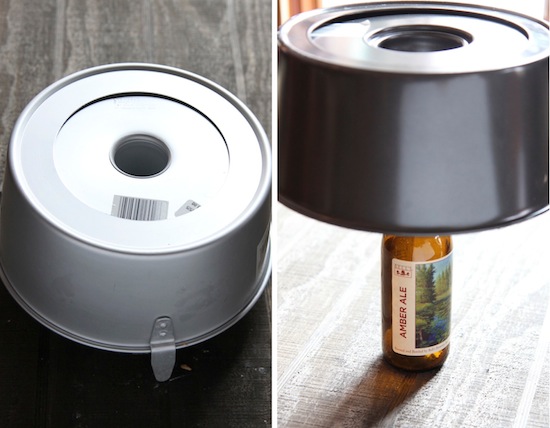
Which pan to have? The only big difference is that one pan has the traditional cooling legs on it, so that you can invert the pan and let the cake cool upside down, still in the pan. This is important in making an angel food cake because you want the cake to cool upside down and retain its height. In the other pan, without the cooling legs, you have to invert the pan onto a bottle so that it can cool upside down. I do prefer the pan with the cooling legs - it just makes the process easier and less precarious than having the pan balancing on a bottle.
And don't worry about the removable bottom on the pan - the cake will not come out as it is cooling upside down. Because the pan is ungreased, the cake will stick to it enough to stay in the pan the whole time it is upside down.
Angel Food Cake with White Whipped Frosting

for a printable recipe, click here
cake serves 8-10
the frosting yields 5 cups
from Martha Stewart
Want a chocolate angel food cake? Replace 1/4 cup cake flour with 1/4 cup unsweetened cocoa powder; reduce vanilla extract to 1 teaspoon.
Ingredients:
for the cake:
- 1 cup cake flour (spooned and leveled)
- ¼ teaspoon salt
- 12 large egg whites, room temperature
- 1 teaspoon cream of tartar
- 1 ¼ cups sugar
- 2 teaspoons pure vanilla extract (I used 1 teapoon of vanilla extract and 1 teaspoon of orange extract)
for the frosting:
- 3 large egg whites
- ¾ cup sugar
- Pinch of salt
- ⅓ cup water
- ¼ teaspoon pure vanilla extract
Instructions:
Preheat the oven to 350 degrees F. Place flour and salt in a sieve set over a bowl; sift into bowl and set aside. With a mixer, beat egg whites on medium-high until foamy, about 1 minute. Add cream of tartar; beat until soft peaks form. Continue to beat, gradually adding sugar; beat until stiff peaks form, about 2 minutes. Add vanilla; beat to combine.
Gently transfer egg-white mixture to a large, wide bowl. In four batches, using the sieve again, sift flour mixture over egg-white mixture. While turning the bowl, use a rubber spatula to fold in the mixture by cutting down the center and coming up the sides.
Gently spoon batter into an ungreased angel food cake pan with a removable bottom; smooth top. Cut a knife or small spatula through batter to release air bubbles. Bake until cake is golden and springs back when lightly pressed, 35 to 40 minutes. Invert pan; let cool in pan upside down 1 hour or more. Run a knife around the inside of the pan and around the tube to release cake and unmold. Use knife to release cake from bottom of pan and remove.
for the frosting:
In a heatproof bowl set over (not in) a saucepan of simmering water, combine egg whites, sugar, salt, and water. Cook over medium, stirring constantly, until sugar has dissolved (or mixture registers 150 degrees on an instant-read thermometer), 2 to 3 minutes. Transfer to a large bowl. Using an electric mixer, beat on medium-high until glossy, stiff peaks form (do not overbeat), about 3 minutes; reduce speed to low, add vanilla extract, and beat just until combined. Use immediately.